
zblog插件配置页的制作方法,开发过程步骤教程(二)
首先打开插件目录,找到我们新建插件时自动生成的main.php文件;
自动生成的文件代码如下:
<?php
require '../../../zb_system/function/c_system_base.php';
require '../../../zb_system/function/c_system_admin.php';
$zbp->Load();
$action='root';
if (!$zbp->CheckRights($action)) {$zbp->ShowError(6);die();}
if (!$zbp->CheckPlugin('FY_GOUTOP')) {$zbp->ShowError(48);die();}

$blogtitle='FY_GOUTOP';
require $blogpath . 'zb_system/admin/admin_header.php';
require $blogpath . 'zb_system/admin/admin_top.php';
?>
<div id="divMain">
  <div class="divHeader"><?php echo $blogtitle;?></div>
  <div class="SubMenu">
  </div>
  <div id="divMain2">
<!--代码-->
  </div>
</div>

<?php
require $blogpath . 'zb_system/admin/admin_footer.php';
RunTime();
?>
首先我们先给插件配置页添加一个导航条,这样方便用户在使用的时候能够便捷的找到自己所需要的设置项:
代码如下:
<a href="main.php" ><span class="m-left">基础设置</span></a>
<a href="http://www.fengyan.cc" target="_blank"><span class="m-right">帮助</span></a>
注意上面两个链接的class属性,'m-left'指的是该导航靠左显示, 'm-right'指的是该导航靠右显示。
将其添加到<div class="SubMenu"></div>中,代码示例:
<div class="SubMenu">
    <a href="main.php" ><span class="m-left">基础设置</span></a>
    <a href="http://www.fengyan.cc" target="_blank"><span class="m-right">帮助</span></a>
</div>
添加完成之后,我们保存文件,然后点击插件配置按钮进入配置页面,页面中是不是出现了我们刚刚新建的那个导航了呢;

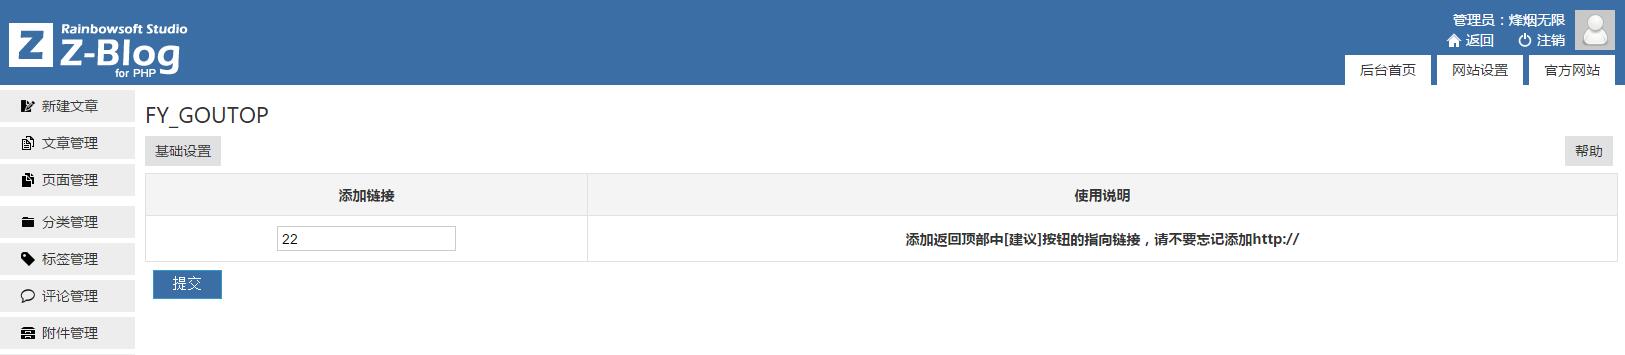
接下来我们为插件做一个输入框,让用户可以自定义返回顶部中[建议]按钮的指向链接;代码如下:
<form method="post">
  <table width="100%" style='padding:0;margin:0;' cellspacing='0' cellpadding='0' class="tableBorder">
	<tr>
	  <th width="30%"><p align="center">添加链接</p></th>
	    <th width="70%"><p align="center">使用说明</p></th>
	</tr>
	<tr>
	    <th>
		<p align="center">
		    <input id="url" name="url" type="text" value="<?php echo $zbp->Config('FY_GOUTOP')->url;?>" />
		</p>
	    </th>
	    <th><p align="center">添加返回顶部中[建议]按钮的指向链接,请不要忘记添加http://</p></th>
	</tr>
    </table>
    <hr/>
    <p>
        <input type="submit" class="button" value="<?php echo $lang['msg']['submit']?>" />
    </p>
</form>
将其添加到<div class="divMain2"></div>中;
效果图如下:
 用户输入信息后我们需要把这些信息保存在ZBlog的数据库中,以便调用,代码如下:
if(count($_POST)>0){
	$zbp->Config('FY_GOUTOP')->url = $_POST['url'];
	$zbp->ShowHint('good');
	$zbp->SaveConfig('FY_GOUTOP');
}
将其添加到文件的<?php?>中;
保存之后一个简单的插件配置页面就完成了,接下来我们将调用输入框数据的代码添加到include.php文件中;
打开include.php文件,找到https://www.fengyan.cc/将其替换成'.$zbp->Config('FY_GOUTOP')->url.'如下图:

到此为止,插件制作完成。